The Divi Video Slider Module
The Divi Video Slider Module
How to add, configure and customize the Divi video slider module.
View full documentation:
Divi makes it easy to add a Video Slider to your page. This is a great way to organize collections of videos from just about any source. The video gallery also allows you to customize video thumbnail images and play button to add a clear, custom style to your embeds.
VIEW A LIVE DEMO OF THIS MODULE
How to Add a Video Slider Module to Your Page
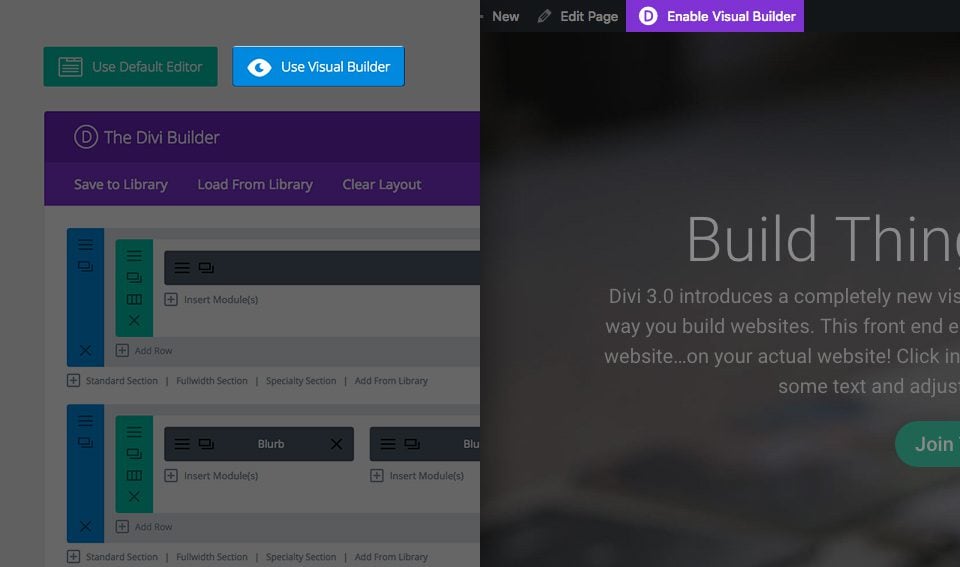
Before you can add a video slider module to your page, you will first need to jump into the Divi Builder. Once the Divi Theme has been installed on your website, you will notice a Use Divi Builder button above the post editor every time you are building a new page. Clicking this button will enable the Divi Builder, giving you access to all of the Divi Builder’s modules. Next, click the Use Visual Builder button to launch the builder in Visual Mode. You can also click the Enable Visual Builder button when browsing your website on the front end if you are logged in to your WordPress Dashboard.
Once you have entered the Visual Builder, you can click the gray plus button to add a new module to your page. New modules can only be added inside of Rows. If you are starting a new page, don’t forget to add a row to your page first. We have some great tutorials about how to use Divi’s row and section elements.
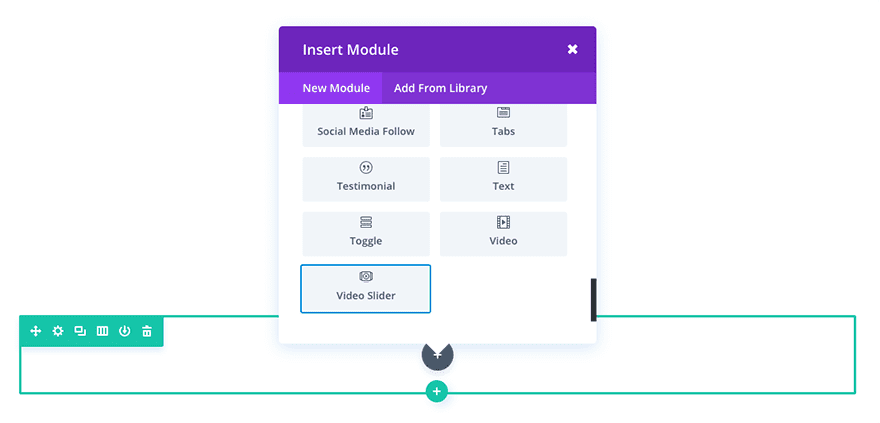
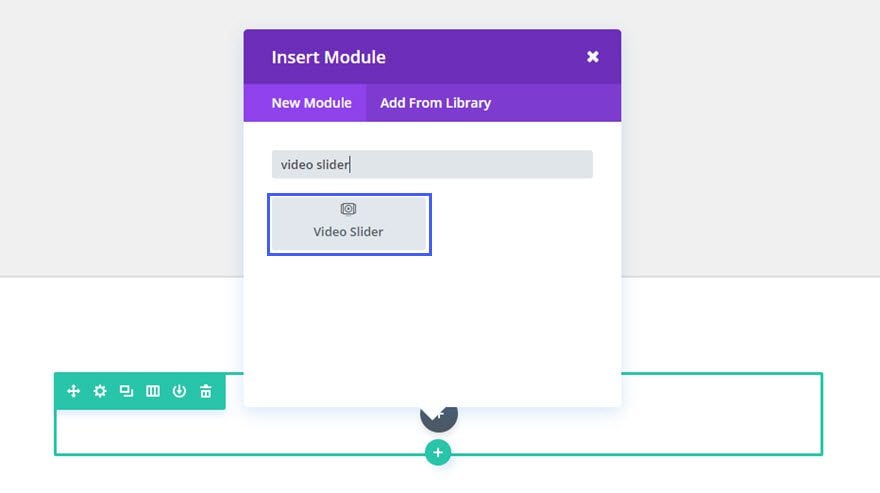
Locate the video slider module within the list of modules and click it to add it to your page. The module list is searchable, which means you can also type “video slider” and then hit enter to automatically find and add the video slider module! Once the module has been added, you will be greeted with the module’s list of options. These options are separated into three main groups: Content, Design and Advanced.
Populating the Video Slider with Content

Before adjusting too many settings it’s probably a good idea to go ahead and populate your video slider with video slides. That way when you make changes you’ll actually be able to see how they affect the end result. To add a new video slide you will need to click the + Add New Item link.
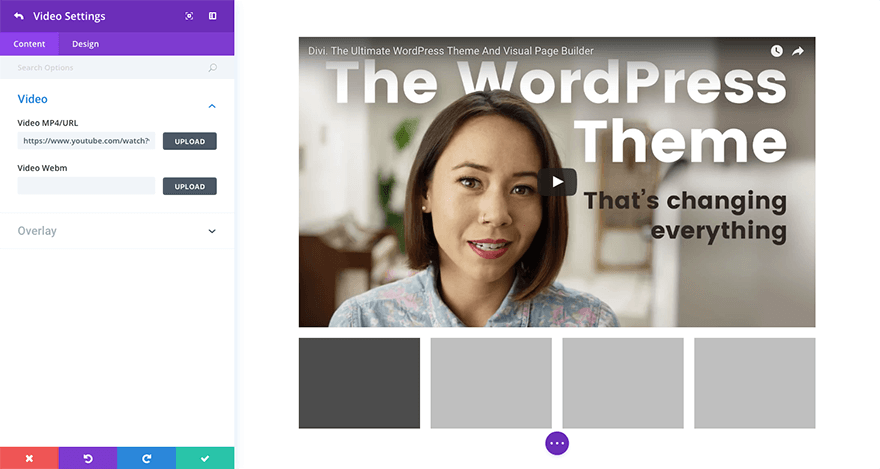
Here you can either upload a .mp4 or Webm file. You can also insert a video url from YouTube. When you’ve either uploaded your file or added the YouTube link simply click the green check button in the bottom right hand corner and you will return to the video slider module’s main content tab. Repeat this process for each video you’d like to add.
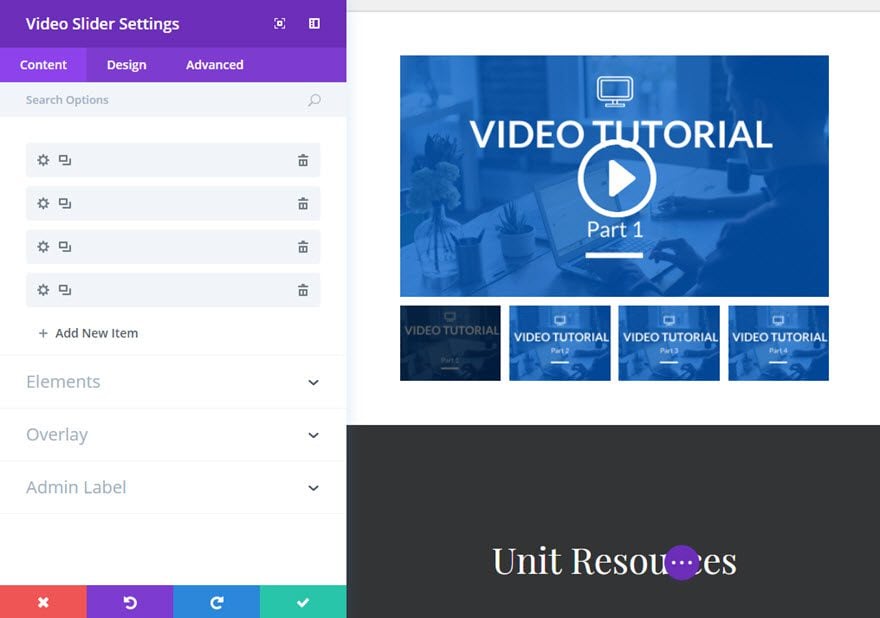
Video Slider Module Content Settings
Now that your content has been added, there are a few other areas to explore. The three content tab dropdown menus where settings have been grouped which will affect the entire module.
Elements
Under elements you’e able to adjust the setting for the video slider module’s arrows and slider controls.
Overlay
Here you can choose to show or hide video overlays on the main video. This can be done by adding an overlay to each video slide or auto-generated by Divi.
Admin Label
In this dropdown you can add an admin label that will appear in the back end builder as well as the visual builder’s skeleton view.
Video Slider Module Design Settings

In this tab there is just one group of settings called Controls Colors. Here you can change the slider controls color from light to dark, change the color of the play icon, and adjust the thumbnail overlay color.
Video Slider Module Advanced Settings
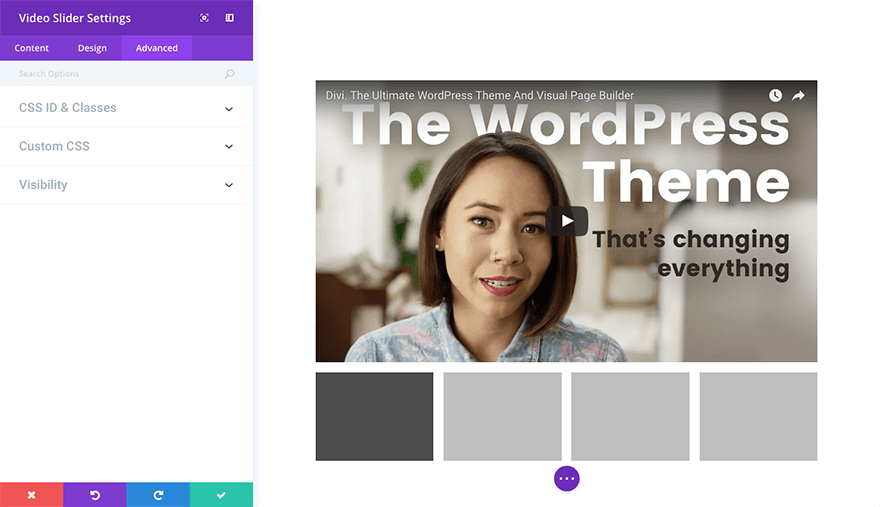
In the Advanced tab of your video slider module you are able to add a unique css id and class. You are also able to add custom css to various pre-defined (and pre-selected) css selectors within the video slider module in the custom css dropdown. And finally in the visibility dropdown you are able to adjust the visibility of your module on phones, tablets, and desktops.
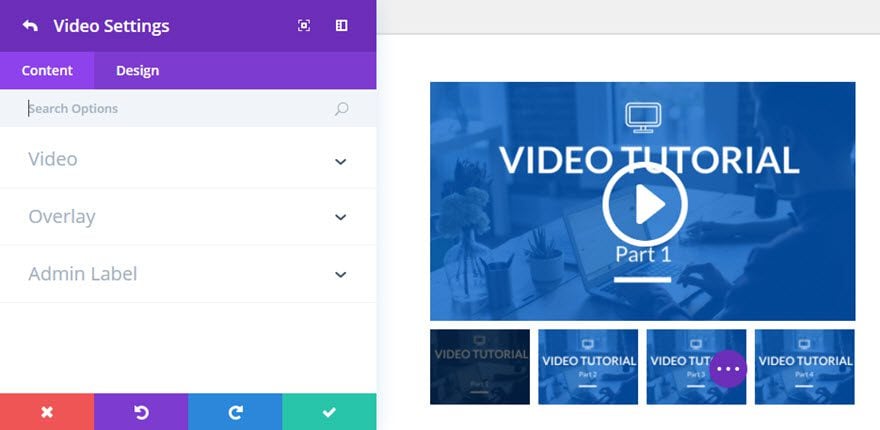
Individual Video Content Settings
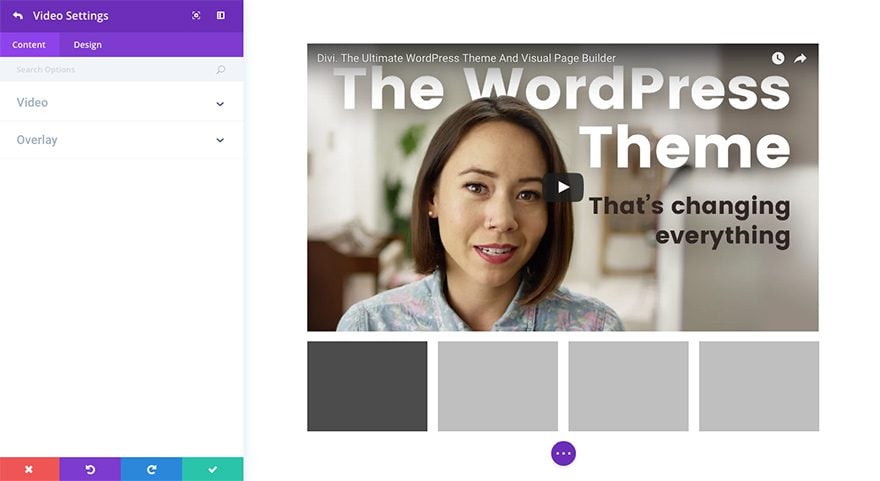
If you want to create specific settings for individual slides, these will need to be configured inside the video slides themselves. Simply click on that slide’s gear icon to open up it’s unique settings.
Video
As demonstrated above, this is where you are able to add your video content.
Overlay
In the overlay dropdown you can upload an image to overlay your video slide or choose to have Divi generate one automatically.
Individual Video Design Settings

In the design tab of your video slide you are able to change your slide arrow color from light to dark.
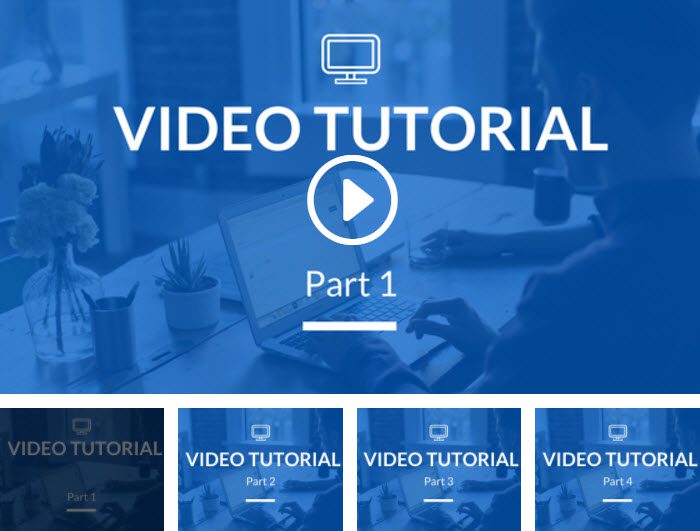
Use Case Example: Adding a Video Slider to showcase tutorial videos for a Course Page
For this example, I’m going to show you how to use a video slider to showcase a series of tutorial videos for a online course page..
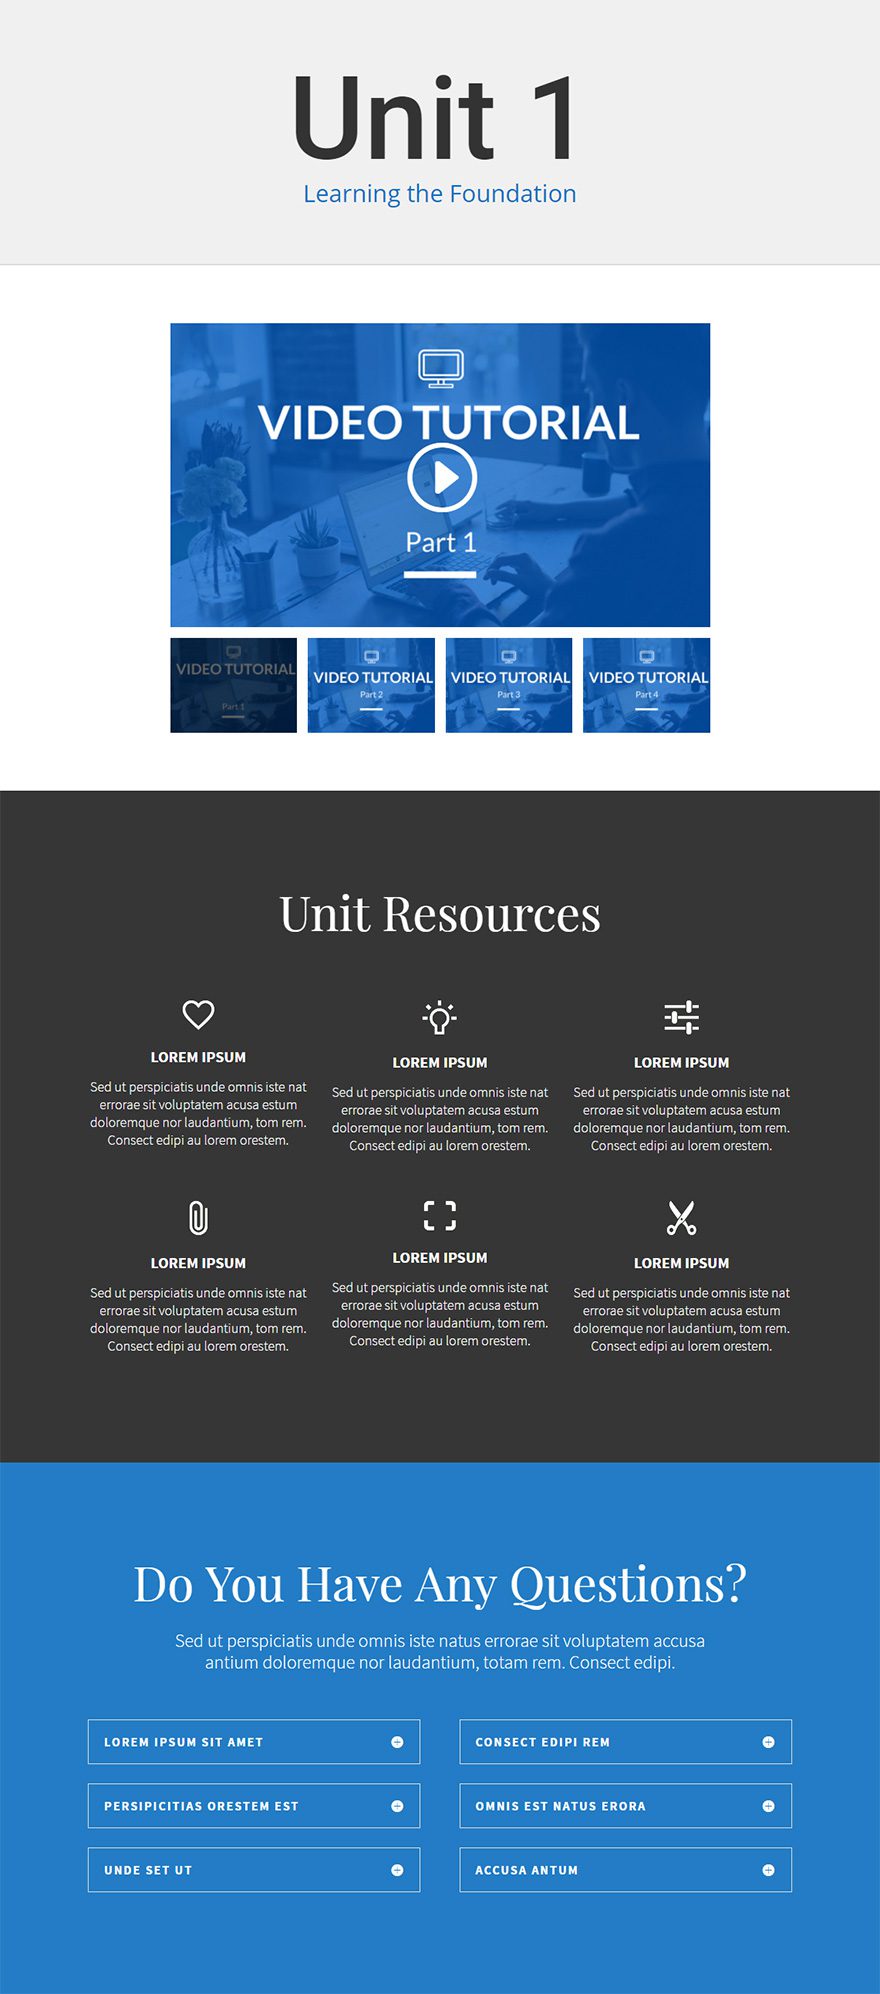
Let’s get started.
Use the visual builder to add a Regular Section with a fullwidth (1 column) row. Then add a Video Slider Module to the row.
The first thing you need to do when the Video Slider Settings modal pops up is select + Add New Item in order to add your first video to the module.
Update the Individual Video Settings as follows:
Content tab
Video MP4/URL: [enter URL or upload video]
Video Webm: [enter URL or upload video]
Image Overlay URL: [insert custom image to serve as overlay]
Design tab
Slider Arrows Color: Light
Save Settings
Repeat this step to add the rest of the videos needed for the unit.
Once all of the videos and custom image overlays have been added, go back to the Video Slider Settings and update the options as follows:
Content tab
Arrows: Show Arrows
Slider Controls: Use Thumbnail Track
Display Image Overlays on Main Video: Show
Design tab
Slider Controls Color: Light
Play Icon Color: #ffffff
That’s it!