The Divi Fullwidth Map Module
The Divi Fullwidth Map Module
How to add, configure and customize the Divi fullwidth map module.
View full documentation:
The maps modules makes it easy to embed custom Google Maps anywhere on your page. You can even add unlimited pins to the map, and define a custom viewport starting location. The maps modules also comes in a Normal Width format, so be sure to check that out as well!
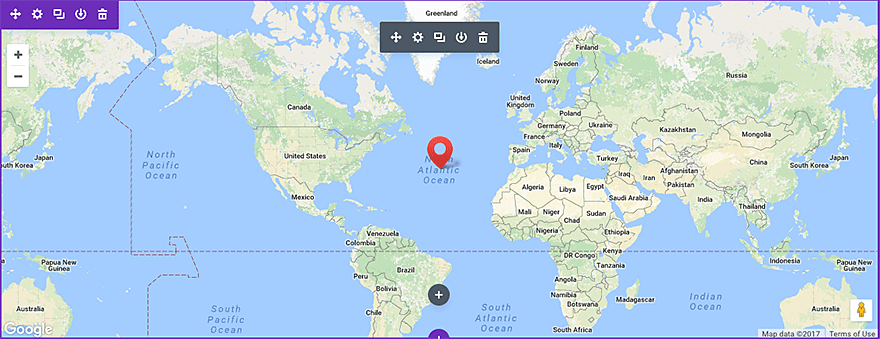
VIEW A LIVE DEMO OF THIS MODULE
Google Maps API Key
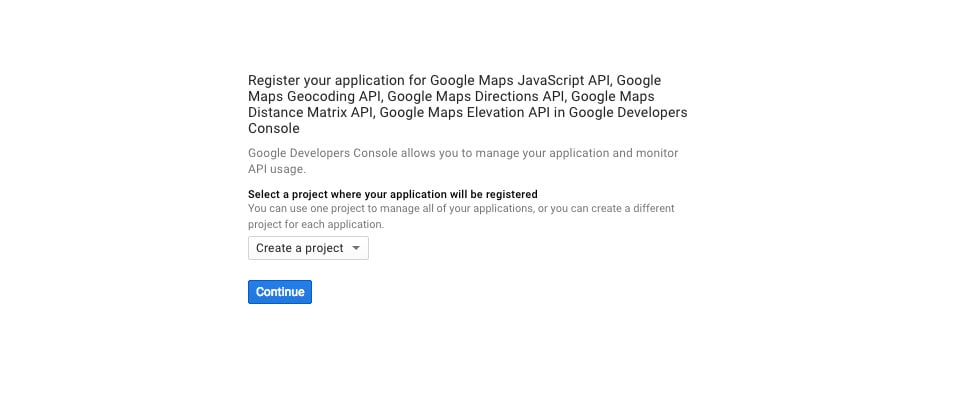
An API key is required in order to use the Maps Module. To obtain an API key, log into the Google Developers Console, which will guide you through the process, and activate the Google Maps JavaScript API and any related services automatically. The first thing you will be asked to do is create a new project.
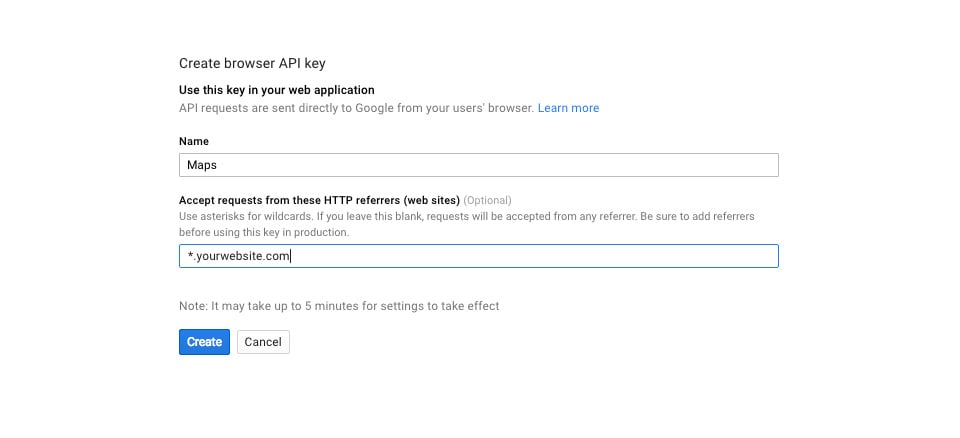
Next you will be asked to name your project. You can name the project anything you like. In this example, I simply called it “Maps.” You can also input your website’s domain name (add an * in front of it if you allow access from both www.domain.com and domain.com) to make sure to other website’s are allowed to your your API key.
After you have created an named your project, you will be presented with an API Key that you can use.
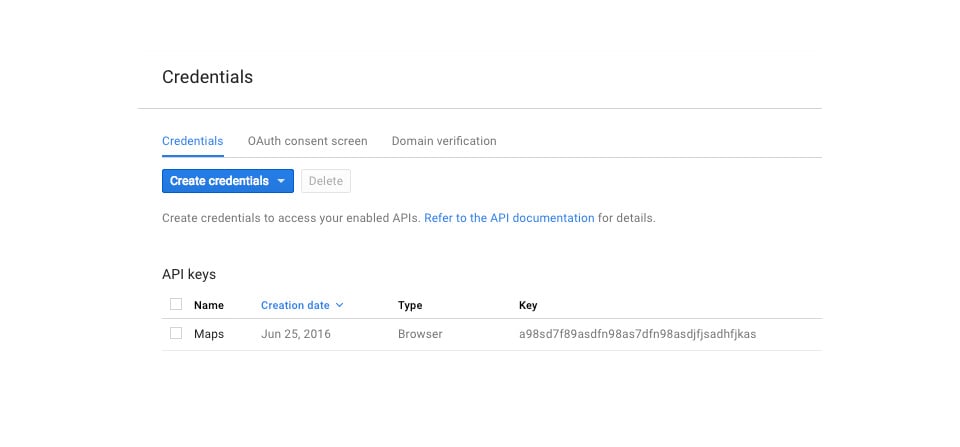
After you have obtained an API key, you must copy/paste it into the theme options panel by navigating to: Divi>>Theme Options>>General Settings>>Google Maps API Key
How To Add A Fullwidth Map Module To Your Page
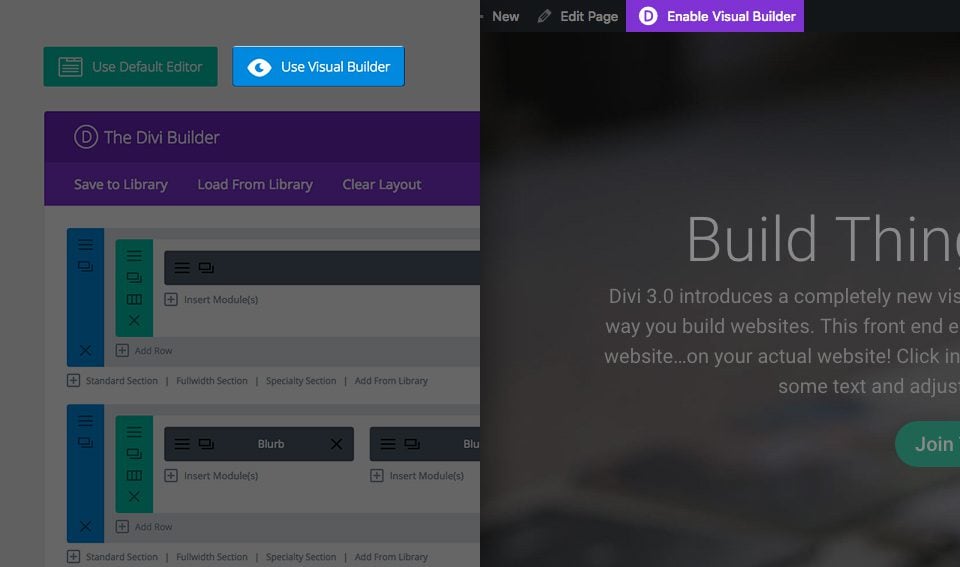
Before you can add a fullwidth map module to your page, you will first need to jump into the Divi Builder. Once the Divi Theme has been installed on your website, you will notice a Use Divi Builder button above the post editor every time you are building a new page. Clicking this button will enable the Divi Builder, giving you access to all of the Divi Builder’s modules. Next, click the Use Visual Builder button to launch the builder in Visual Mode. You can also click the Enable Visual Builder button when browsing your website on the front end if you are logged in to your WordPress Dashboard.
Once you have entered the Visual Builder, you can click the gray plus button to add a new module to your page. New fullwidth modules can only be added inside of fullwidth sections. If you are starting a new page, don’t forget to add a fullwidth section to your page first. We have some great tutorials about how to use Divi’s section elements.
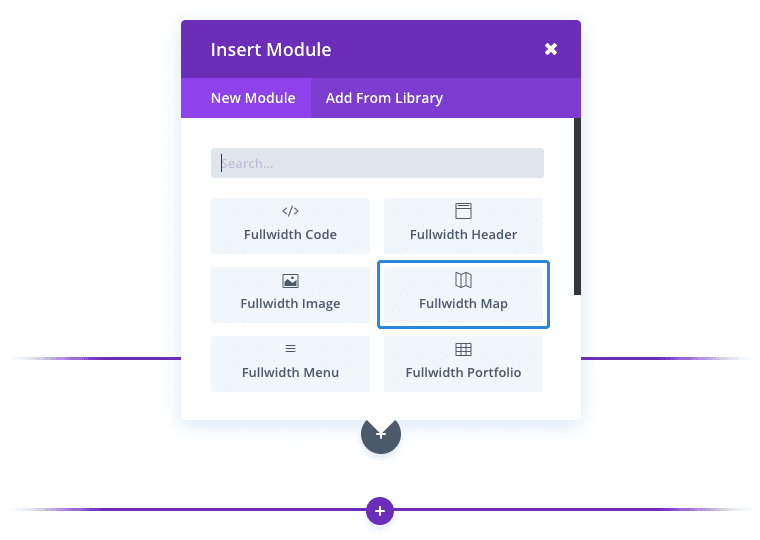
Locate the fullwidth map module within the list of modules and click it to add it to your page. The module list is searchable, which means you can also type the word “fullwidth map” and then click enter to automatically find and add the fullwidth map module! Once the module has been added, you will be greeted with the module’s list of options. These options are separated into three main groups: Content, Design and Advanced.
Use Case Example: Add a Fullwidth Map Module to a Contact Page
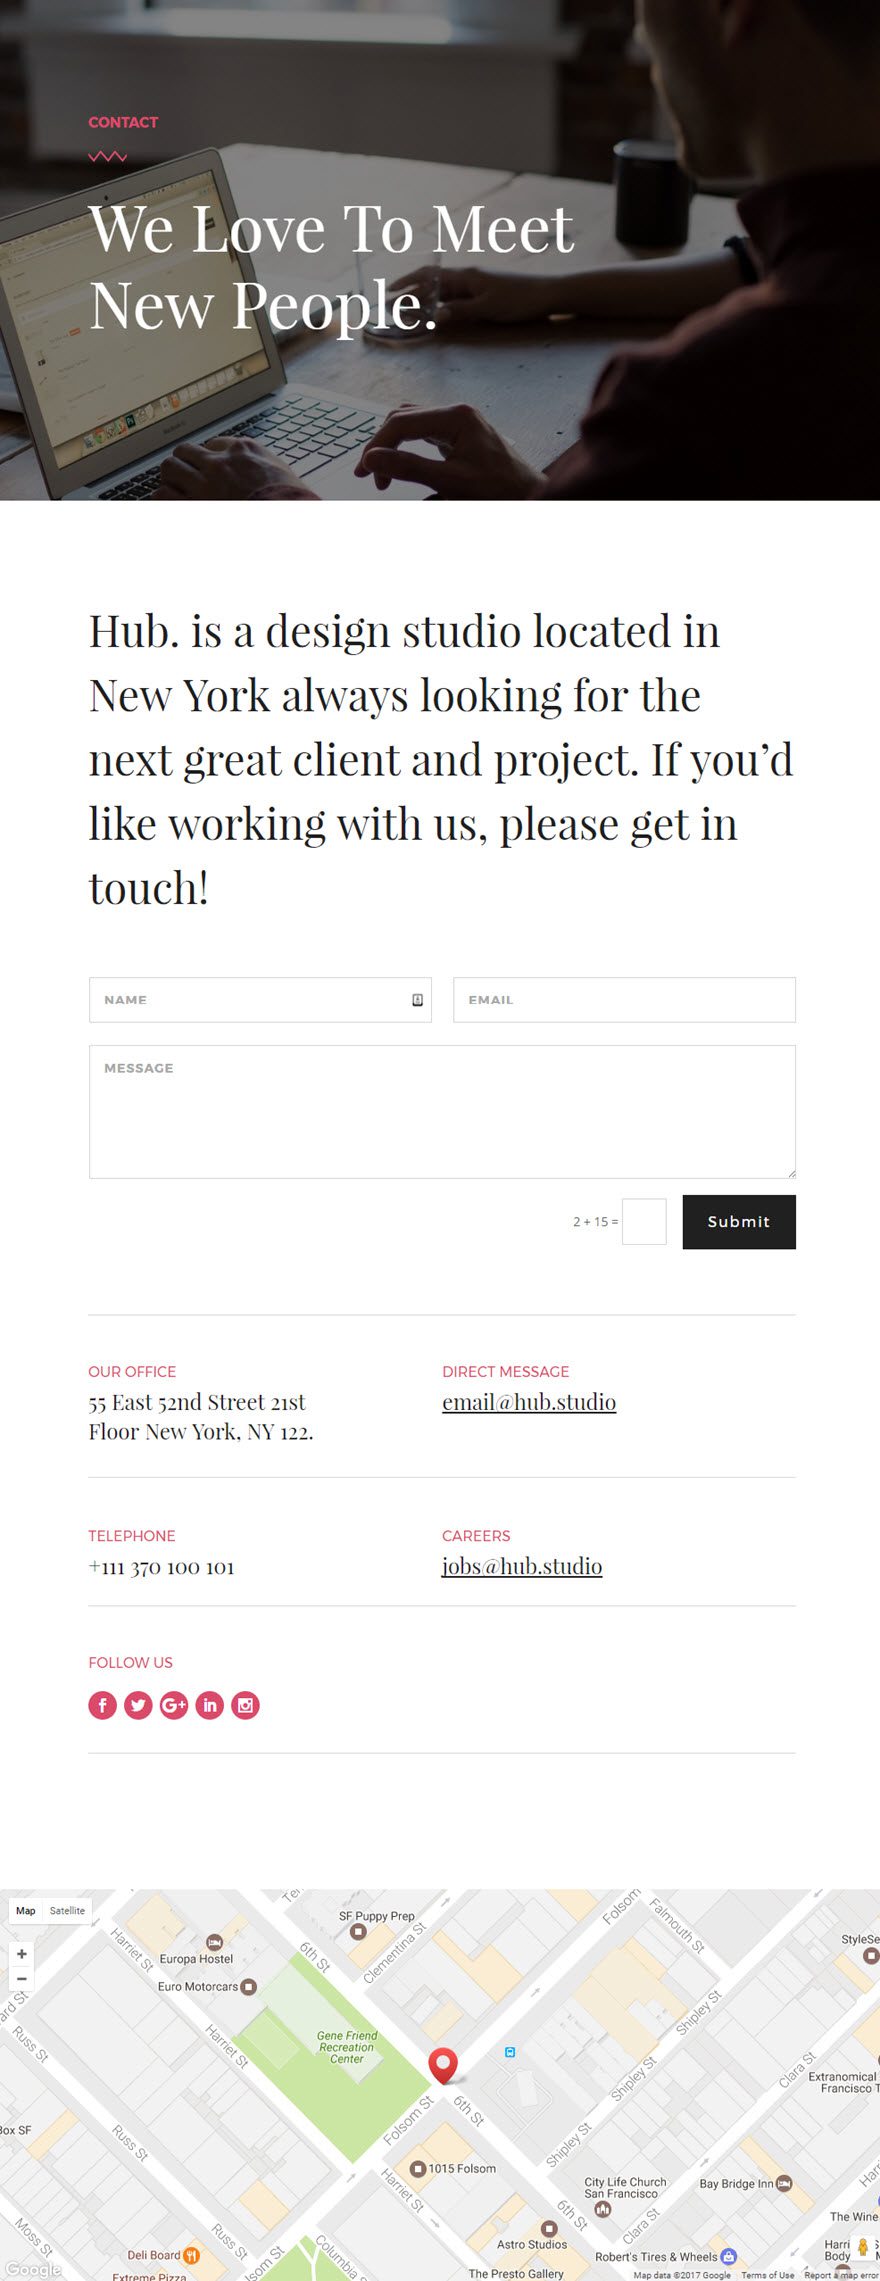
A fullwidth map module is a great way to showcase your company location on your contact page. And the ability to add multiple pins to your map to showcase different company locations and information is a helpful and engaging feature.
For this example, I’m going to add a Fullwidth Map Module to showcase the company location and information by adding a custom pin to the map.
Important: Make sure a valid Google API Key has been entered inside the Divi Theme Options panel. The Map Module will not work without it.
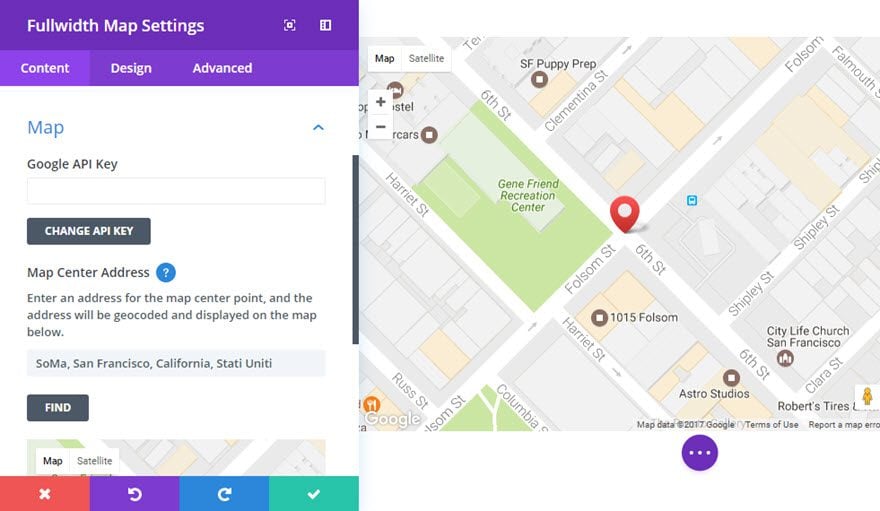
Using the Visual Builder, add a Fullwidth Section to the bottom of the contact page. Then insert the Fullwidth Map module to your new section. In the Content tab of the Fullwidth Map Settings, enter your company address under the Map Center Address option. The Map Center Address is for the map center point.
Then click + Add New Item to create your first pin. Update the following:
Title: [enter the title of your location]
Content: [enter the content for your pin (ex. address and phone number)]
Map Pin Address: [enter the address for this specific location]
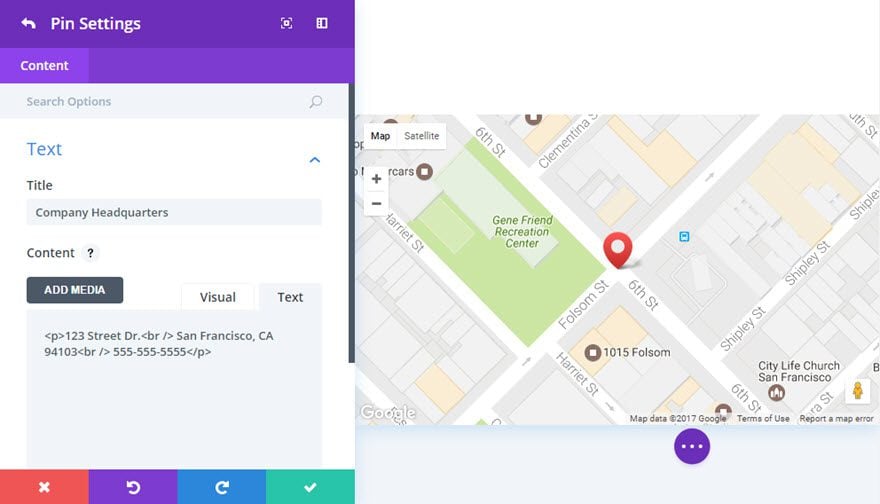
Save Settings
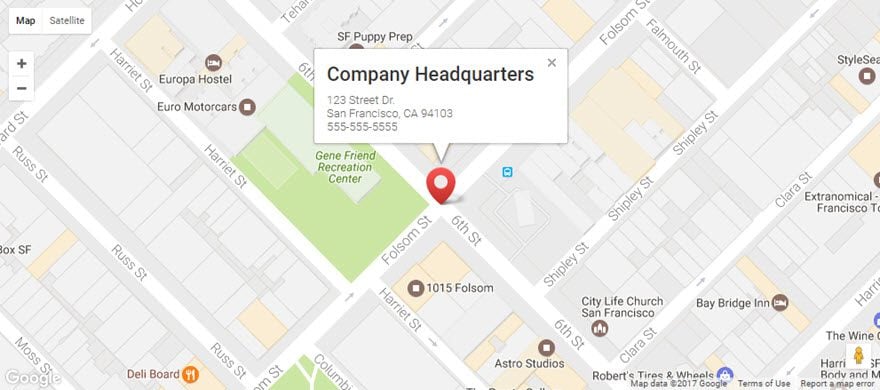
That’s it. Now you have a dynamic fullwidth map module at the bottom of the contact page with a clickable pin that displays company information.
Fullwidth Map Content Options
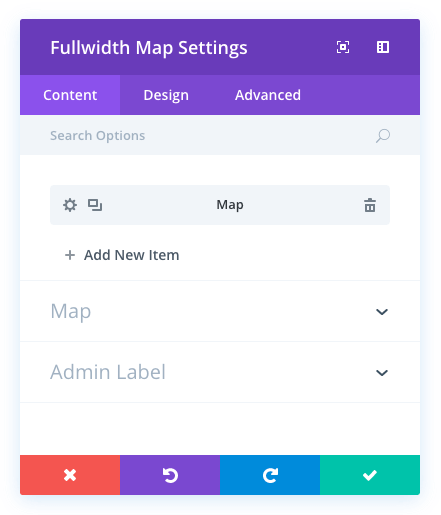
Within the content tab you will find all of the module’s content elements, such as text, images and icons. Anything that controls what appears in your module will always be found within this tab.
Google API Key
The Maps module uses the Google Maps API and requires a valid Google API Key to function. Before using the map module, please make sure you have added your API key inside the Divi Theme Options panel. Learn more about how to create your Google API Key here.
Map Center Address
Enter an address for the map center point, and the address will be geocoded and displayed on the map below. This is useful if you have multiple pins, and you want to have the map zoomed in to a specific, more focused location. You can simply type in an address in a standard format, such as “1235 Sunny Road, Some City, State, 88343.”
Admin Label
This will change the label of the module in the builder for easy identification. When using WireFrame view in the Visual Builder, these labels will appear within the module block in the Divi Builder interface.
Fullwidth Map Design Options
Within the design tab you will find all of the module’s styling options, such as fonts, colors, sizing and spacing. This is the tab you will use to change how your module looks. Every Divi module has a long list of design settings that you can use to change just about anything.
Mouse Wheel Zoom
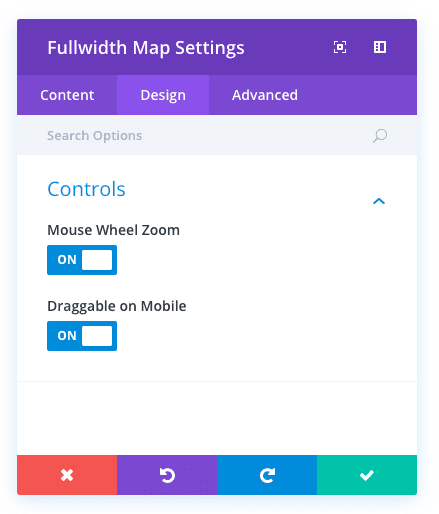
Here you can choose whether the zoom level will be controlled by the mouse wheel or not. Often times it’s better to disable this option so that visitors are not disrupted as they scroll down the page and get their mouse wheel stuck inside the map’s iframe. This is especially true for fullwidth map modules.
Draggable Zoom
Here you can choose whether or not the map will be draggable on mobile devices.
Use Grayscale Filter
Enabling this option will turn your map into a grayscale image.
Fullwidth Map Advanced Options
Within the advanced tab, you will find options that more experienced web designers might find useful, such as custom CSS and HTML attributes. Here you can apply custom CSS to any of the module’s many elements. You can also apply custom CSS classes and IDs to the module, which can be used to customize the module within your child theme’s style.css file.
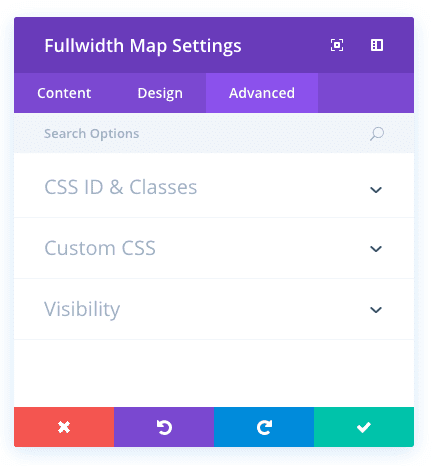
CSS ID
Enter an optional CSS ID to be used for this module. An ID can be used to create custom CSS styling, or to create links to particular sections of your page.
CSS Class
Enter optional CSS classes to be used for this module. A CSS class can be used to create custom CSS styling. You can add multiple classes, separated with a space. These classes can be used in your Divi Child Theme or within the Custom CSS that you add to your page or your website using the Divi Theme Options or Divi Builder Page Settings.
Custom CSS
Custom CSS can also be applied to the module and any of the module’s internal elements. Within the Custom CSS section, you will find a text field where you can add custom CSS directly to each element. CSS input into these settings are already wrapped within style tags, so you need only enter CSS rules separated by semicolons.
Visibility
This option lets you control which devices your module appears on. You can choose to disable your module on tablets, smart phones or desktop computers individually. This is useful if you want to use different modules on different devices, or if you want to simplify the mobile design by eliminating certain elements from the page.
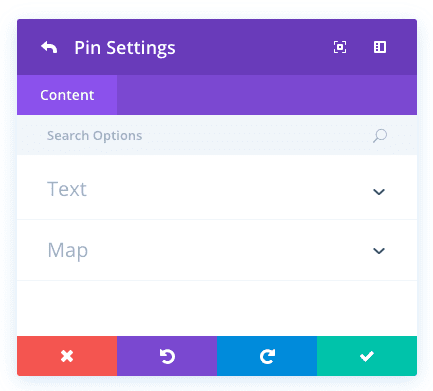
Individual Fullwidth Map Content Options
Title
While creating a new pin, you can assign a Title. This title will appear in the box when hovering over the pin on the map.
Content
While creating a new pin, you can assign a block of content text. This text will appear in the box when hovering over the pin on the map.
Map Pin Address
This is the specific location on the map where your new pin will appear. You can enter the address in a standard format.
